
Here are some photos i managed to take of the lil things i did, i ended up making some small random boxes, a door and a animatable lunch bag.
Boxes
I started by measuring out 3 different sized boxes to have them vary in size, then using thin cardboard i cut each template out and used a glue gun to stick them together.

Then I cut the boxes to have them look worn in the corners and used sand paper to rough them up a bit.

Using a paint brush i added a lot of water to help them crease and become more distraught.


Using some watered down acrylic paint to discolour them i then once dried again used some sand paper to rough them up.

Once the colour was done on the boxes i added masking tape to a few to represent actual small patches of tape.

Then using acrylic paint again i coloured and ware the tape down.


I padded out and added fabric to the boxes with some tiny thread in the smaller once. I used a glue gun to attach the fabric and then super glue to stick in the thread.

one of the boxes i wanted to fill with buttons, so i made some small sculpey buttons.

Once baked, I then painted and sanded them down to finish them off then i used super glue to stick them into the box.


Door
For the door, it needed to be made out balsa wood to tie into the set which was a hilarious challenge that i took head on :P (I haven't got many pics for this sorry)
So i started to construct the frame by sticking it together using tooth pics as keys and PVA wood glue to firmly secure it.
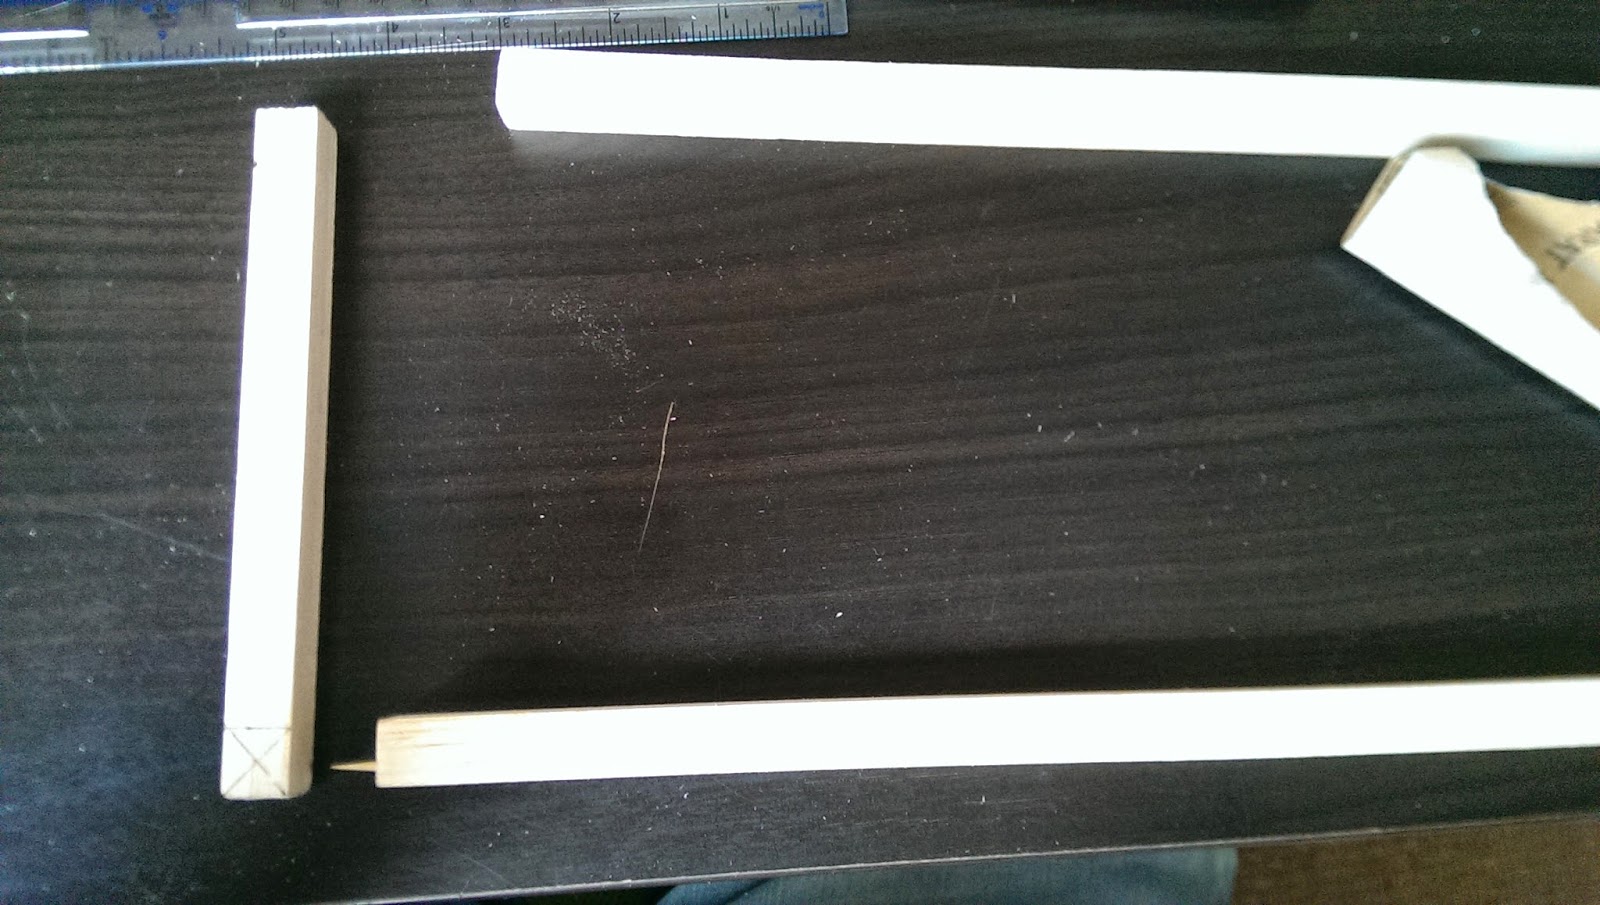
After gluing more to the doors frame, i then needed to make a grove along the outside so it could be slotted into the wall of the set later on. Once glue had time to set and dry i then constructed the actual door by using balsa wood and some wire as a door handle. Once the 2 components were complete i painted them both to blend in with the colour of the set.

Once the paint had dried i used small doll house hinges which i had brought to help attach the door to the door frame. This was actually one of the hard jobs mainly because the nail tacks i had bought to go into the door and frame weren't set into the hinge. MEANING after i had epoxy glued it together the door had about a 3cm gap and wouldn't shut! SO i had to use a dremmil sander to carefully sand the nails right down to help the door shut. This was a long process where i had to do some re painting.

So the result is pretty similar to the end result except this is without the hinges :) (sorry i don't have a picture of the finished door with the hinges as i forgot to take one!!! but will try and get one with it and in the set wall)

I wanted the outside to be rough and weathered but the inside to tie in with the colour of the tables and props on the inside.

I don't have the pictures from my process of the small lunch bag which i made, but will make a new post when i do. So keep up to date with me!!!!! :)
No comments:
Post a Comment